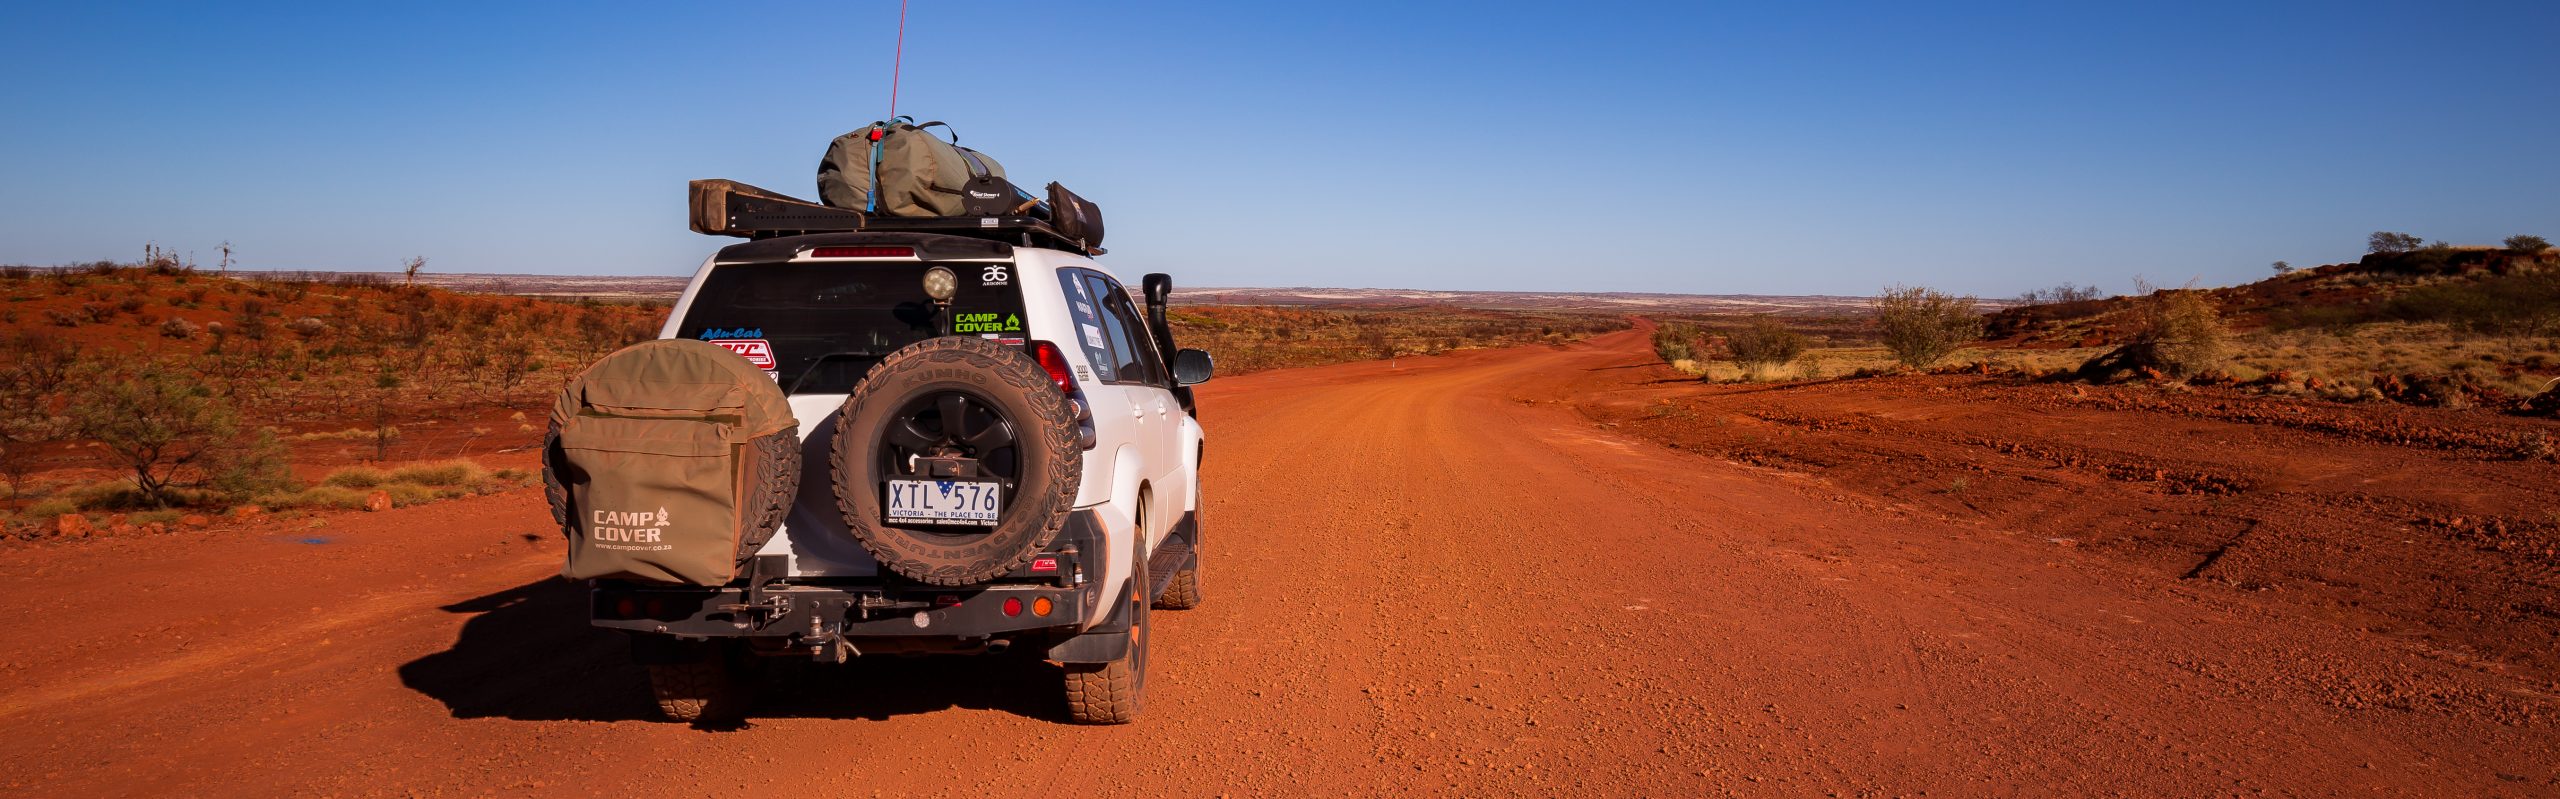

Having decided it was time to check oil levels, it was a challenge to open the bonnet of my Prado as it suddenly weighed heavily. One of the gas struts had decided to fail, hydraulic fluid leaking down the shaft. I was impressed that it had lasted so long, especially having been in the midst of my engine bay fire, the scars still evident on the hardened plastic cover. Thankfully, changing the gas struts that open and hold up your bonnet is very simple, just remember that if you have to replace one, it’s better to replace both so they have the same pressure and age.
First thing I did was jump online and check out what was available for my 14-year-old vehicle. The usual automotive stores sold suitable replacements, but for my vehicle, individually not pairs. Then Google led me to Gas Struts Guys, an Australian owned and operated business that specialises in supplying automotive and universal gas struts. It was easy to enter my vehicle details and find the right kit to suit, and it came as a pair. When the kit was delivered, here is what I did to replace my old gas struts with new ones.
1. Remove the old struts:


This was just a matter of unscrewing the mounting points on the bonnet and body panel using a 12mm spanner and removing the strut with the mounting point attached. I used a broom handle to hold the bonnet up, but it is safer to have someone hold the bonnet for you, just in case. I replaced the faulty strut first so that the good strut could help hold the bonnet up.
2. Install the mounting points:


The kit comes with four mounting points, easily screwed into the existing holes and tightened with a 12mm spanner.
3. Attach the new struts:


Once the mounting points where installed, I used a flat blade screwdriver to release the clip and then pressed the strut onto each mounting point, before closing the clip. Having viewed videos since, releasing the clip may not be necessary for installation, only for removal of the strut. Having replaced the failed strut, I then replaced the second strut just as easily. The entire job took less than 10 minutes and was one of the easiest maintenance jobs ever performed.
So, if the gas struts that support your bonnet give up the ghost, it is simple and easy to replace them. The replacement gas struts cost me $39.95 with free postage for the pair from www.gasstrutguys.com.au.

Projecta have recently released their new and improved range of Intelli-Start 12V Lithium Jumpstarters. I got my hands on the IS1210E, and must say I’m impressed with the compact unit at first glance. Not much larger than a tub of margarine and weighing in at only 630 grams it packs a real punch when it comes to jump starting your vehicle or keeping your mobile devices charged.
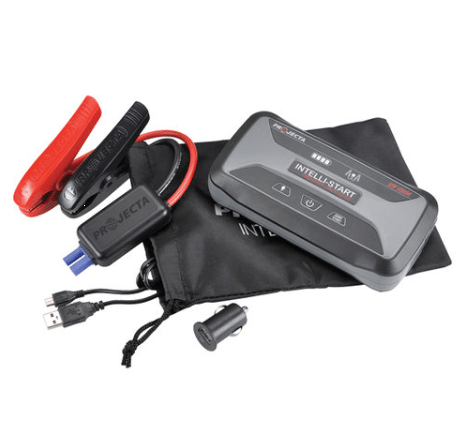
What comes in the box
It may only be small, but according to Projecta, the IS1210E is capable of jump starting most vehicles up to 3.2L diesel and 7.0L petrol engines.

Projecta IS1210E Intelli-Start Specifications
So what are my initial thoughts? Check out my video below
You can find out more on the Projecta website
Disclaimer: Projecta are a product sponsor, I receive no cash for comments.

You know what it’s like. You buy a new set of spotlights or light bar or air lockers and the switch that comes with the kit isn’t one that fits your blank switch plate or the wording \symbols are rubbish.

I found the solution though, Lightforce allows you to create custom switches to suit most common vehicles and they’re virtually a plug and play installation. Here is how I did it.
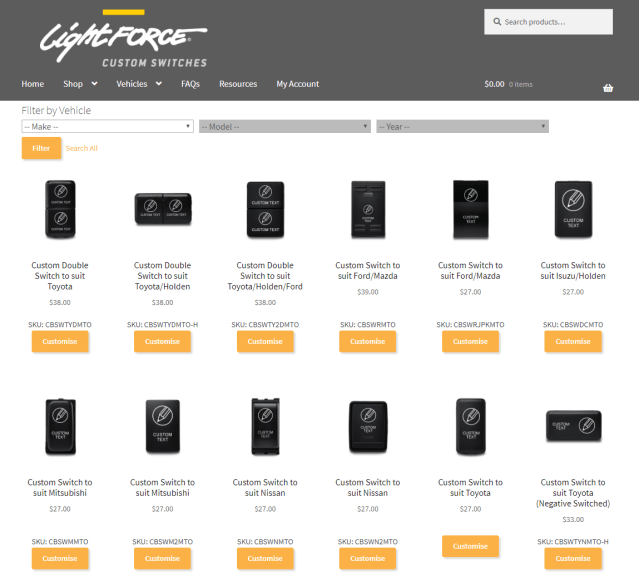
Step One: Ordering the Switches
- Head to the Lightforce website and click on Custom Switches, once the page opens navigate to the Custom Switches section.
- Select the custom switch that suits your vehicle. Switches range from $23 to $38 each.
- Follow the instructions to select the image that you prefer before typing in the text that you want. The switch must be edited before you can purchase it and profanity is not permitted. It is also advisable to check your spelling as you won’t get a refund if you muck it up.
- Once you’re happy with your edits, add the switch to the cart and repeat the process until you’ve completed your order.
- Head to the checkout and complete the purchase.
Step Two: Installing the Switches

The only tools you’ll need are:
- wire cutters
- wire strippers
- connectors
- crimper
- soldering iron if you prefer
Each switch comes with a harness and connector as well as instructions on the wiring colours, making things very easy. As I already had switches installed, it was just a matter of crimping connectors onto the blue, yellow, red and black wires and then swapping out the old switches one wire at a time, making sure the correct wires were being connected.


To illuminate the switches when the lights are turned on, I used a test lamp to find the power on the dash light circuit and then connected the switch wires to that. Once everything was installed, it was just a matter of testing each set of lights with the corresponding custom switch.


Now I am very happy as all my switches fit perfectly and do exactly what I chose for them to do.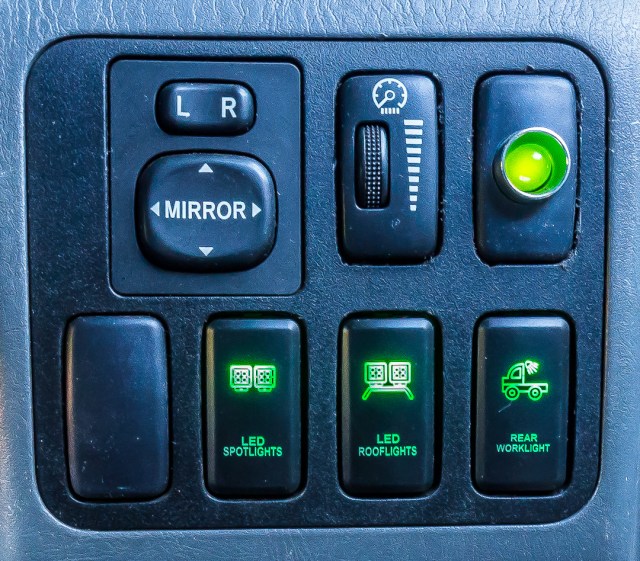
I also decided to grab one of the Lightforce dual USB switches as the one already in the Prado was a cheap and nasty one and only one socket worked. This was easy to install also as it was plug and play. I decided not to connect to the dash light circuit as a lit switch might become distracting considering its position on the centre console.

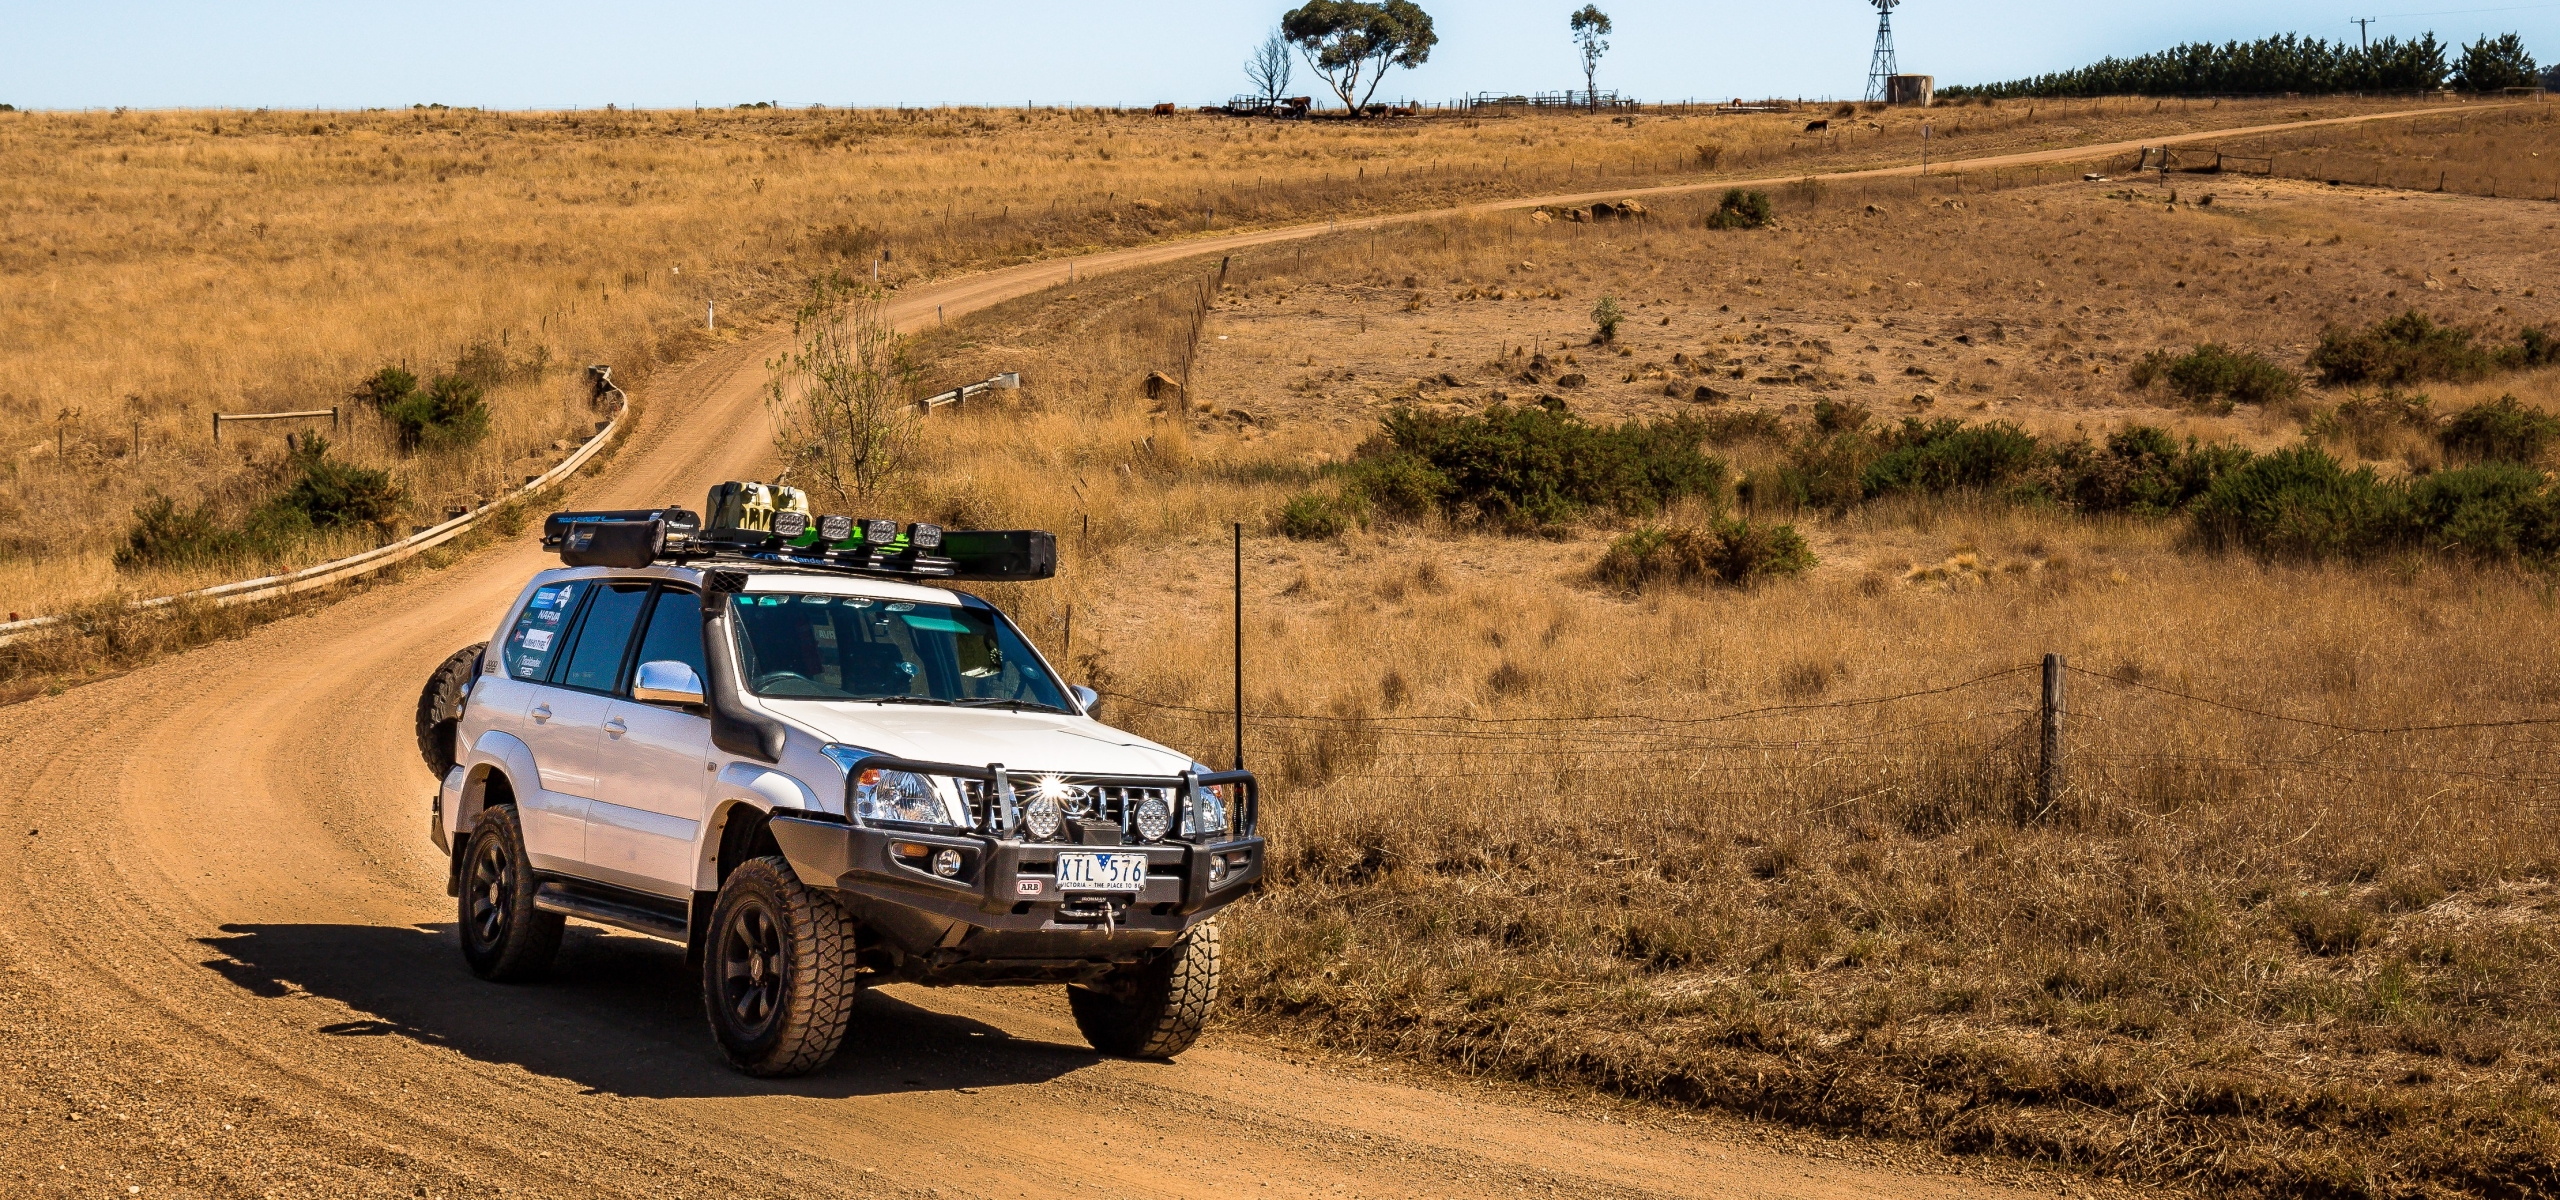
After visiting a weighbridge, it was time to join Weight Watchers.
It was 2018 and while heading up the Hume Freeway at the beginning of an adventure, I decided to check out my weight at a roadside weigh station. Now the Prado doesn’t have the highest GVM at 2900kg and was carrying a fair bit as I was going to be on the road for the next four months, but I was surprised at the figures being displayed. The Prado needed to shed some weight.
It’s been a few months since arriving home and having analysed the setup I’ve come up with some ways to slim down. One of the solutions was to replace the steel rooftop tent rack that had a starting weight of 50kg, with an aluminium rack. After coming up with a shortlist of brands, I contacted Quick Pitch in Perth for some advice and they pointed me to Tracklander, a brand they deal with regularly and are impressed with their products.
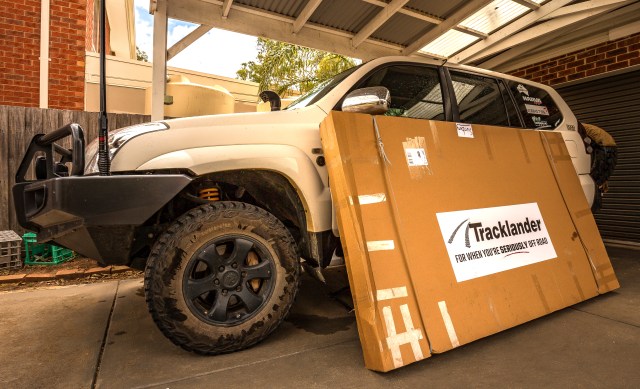
I could carry the Tracklander roof rack single handed
Tracklander have been in the game since 1975, in the days when steel was the go and roof racks designed for 4wd use were few and far between. Having changed from steel roof racks to aluminium, Tracklander is a market leading brand. The biggest benefit for me is that Tracklander roof racks are lightweight but still strong and durable. With a starting weight of 17kg, I have already lost a massive 33kg.
The Tracklander standard full length flat top roof rack and the leg kit to suit my Prado was decided upon. I went with the flat top roof rack as it had the largest footprint available. Most trips I don’t carry a lot on the roof rack, but on longer trips having space available to carry fuel, firewood etc is important. The roof rack also needed to carry the Alu-Cab Shadow Awn and Quick Pitch Ensuite.
The roof rack has the ability to flex with the Prado with Tracklander’s unique “Flex-Tech” design, while the leg mounts provide extra support, strength and protection for the roof. If I ever update the Prado, all that is required is a new set of legs to suit the vehicle and the roof rack can easily be transferred.

Planning where everything would go was a good idea
The dimensions of the roof rack are 2100mm L x 1200mm W x 50mm H and has an extremely low profile, something that will hopefully assist in reducing my fuel economy. The bolt on wind deflector will also help.
Having the flat top roof rack also gives me unlimited tie-down points using the mesh base. I’m impressed that the mesh is welded at every contact point along the base, something my previous roof rack lacked.
When it came to mounting kits, Tracklander has everything you can think off. The mounting brackets for the Lightforce Striker spotlights were a challenge to install, but once I figured out how it could be done, the actual install was simple. The mounting kit for my Tred recovery tracks was also something I loved, providing me with a way to carry four Treds with the added option to fit a padlock to prevent theft.
Even though I don’t often carry jerry cans, when I do, I prefer them to be safe and secure. The double jerry can holder from Tracklander is the perfect fit for the Proquip metal jerry cans and I like that they can be padlocked too. When it came to shade clamps for my Quick Pitch Ensuite, I had to make a minor modification to raise the bag as it hung a little low and kept getting caught in the doors. Quick Pitch sent me their brackets to suit the Alu-Cab Shadow Awn.
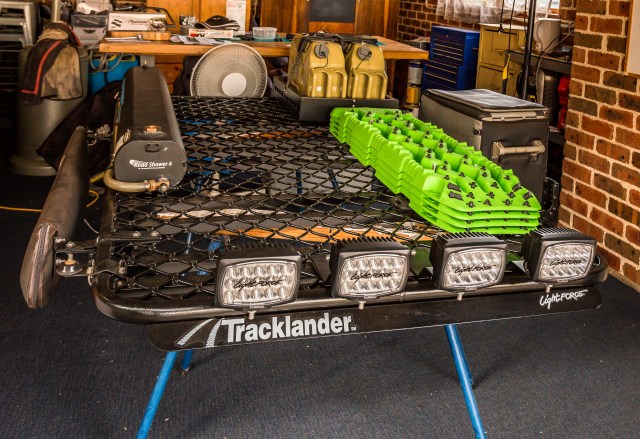
It is easier to install all the brackets prior to mounting the roof rack
Before installing the roof rack onto they Prado, I mounted all the brackets, my Roadshower and the Tred and jerry can holders. The reason is that the profile of the roof rack is so low, it would be difficult to access underneath to bolt anything on. I did have to swap out the Tracklander recovery track mounts as my new Tred Pros nestle lower than the originals so didn’t fit. I ended up using the Tred 4×4 mounts and they were very easy to install also. The Tracklander recovery track mounts will be utilised with the original Treds on the camper trailer.
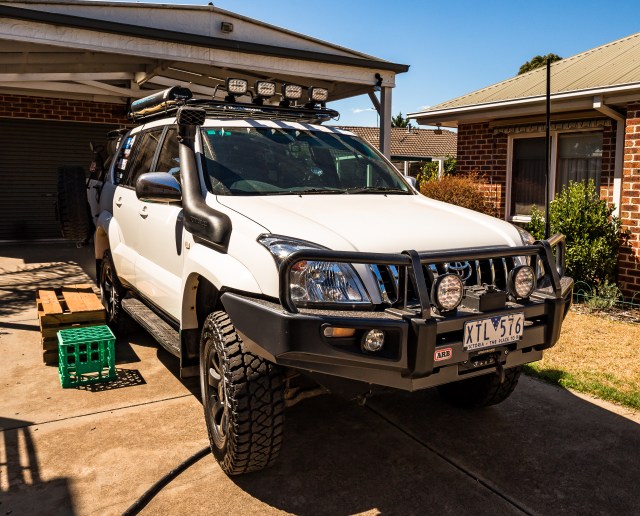
The install was easy with four people doing the lifting
With the Tracklander roof rack now sitting nicely on the Prado, I’m very impressed with the look and the feel. Everything is held in place securely and it was easy to install the awning and ensuite. The powder coating is robust and survived the pre-install fun, with no scratches to be seen. It took four of us to get the rack onto the roof, due to the awkwardness and height of the Prado but with the mounting legs lined up and tightened the final bolt on was simple.
So, with the Tracklander Roof Rack and all the Tracklander accessories installed, the total weight of my new set up is 38.5 kg with the breakdown as follows:
- Roof Rack – 17kg
- Leg Kit – 7kg
- Shade Clamps – 1.5kg
- Double Jerry Can Holder – 9kg
- Front Mount Spotlight Brackets – 4kg
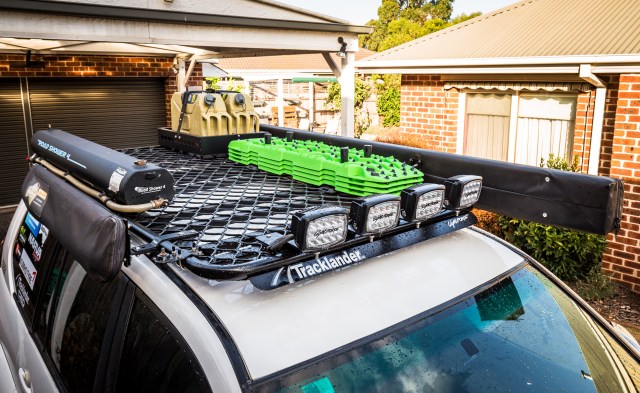
Nice and neat install, with everything nicely mounted
I’m looking forward to heading off on the next adventure, the roof rack will certainly receive a great introduction to remote travel with rough corrugations and eroded sand dunes. Keep an eye out for updates and images on my social media pages and a long-term review will be published later in the year.
Tracklander is a sponsor, but in no way have they influenced this article. You can check out all their gear right here and there are dealers throughout Australia.